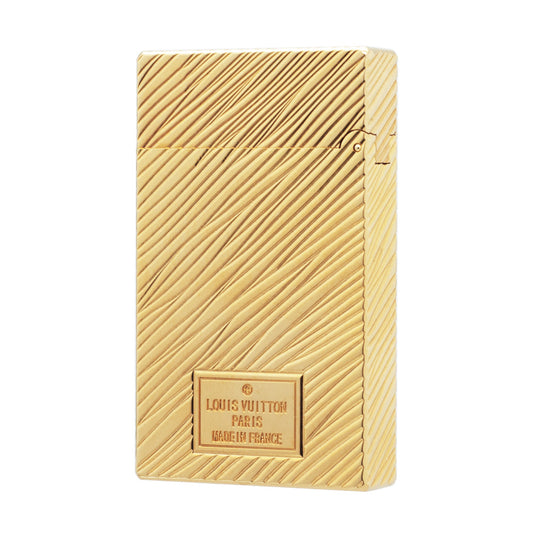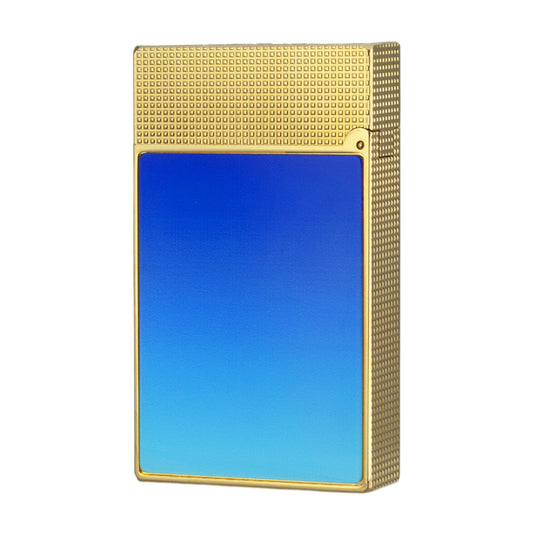
ST Dupont Lighter Care Tips: Refill and Replace Flint
Share
Learn how to properly use, refill, and maintain your ST Dupont lighter, including step-by-step instructions for replacing the flint and butane refilling. Keep your luxury lighter in perfect condition.
ST Dupont lighters have long held the top position in the world of butane lighters, renowned for their precision craftsmanship, elegant design, and signature "cling" sound. They are a favorite among lighter collectors and enthusiasts alike.
However, for newcomers or first-time owners, basic tasks like refilling gas, replacing the flint, and maintaining the lighter can be a bit confusing. In this guide, we’ll walk you through the essential steps to properly refill your ST Dupont lighter, change the flint, and perform simple routine care at home—ensuring your luxury lighter stays in perfect working condition for years to come.

🔧 How to Refill Your Lighter (Using the L2 Model as an Example)
Step 1: Prepare the Lighter
Turn the lighter upside down so that the bottom is facing upward. Unscrew the refill valve cap (as shown in the image). Make sure you are using the correct type of gas — different lighter models require specific fuel types.
Step 2: Release Remaining Gas
Use a tool to press the refill nozzle and release any remaining gas from the lighter. This prevents pressure instability or misfiring caused by mixing old and new gas.
Step 3: Connect the Gas Canister
Insert the refill canister into the refill valve. Once fully inserted, hold the canister in place and rotate the lighter in the opposite direction to lock the connection. Gently press the canister down for 5 seconds. Repeat this process twice.
For some lighters, you will need to use a Dupont Lighter Adapter Add Gas to successfully refill with butane, as shown below.
Step 4: Finalize and Rest
Quickly unscrew and remove the gas canister. Reinstall the refill valve cap. Let the lighter rest for 1–2 minutes before use. Your lighter is now ready to function normally.

How to Replace the Flint (Using the L1 3rd Generation Lighter as an Example)
Step 1: Open the Flint Compartment
Press the button located at the angled edge near the top of the lighter (as indicated by the arrow in the image). The flint compartment will pop open automatically.

Step 2: Replace the Flint
Use tweezers to carefully remove any remaining flint inside the compartment. Insert a new flint into the slot. Be sure to use the designated flint type to avoid damaging the ignition wheel.
Step 3: Close and Test
Close the flint compartment securely. After replacement, the ignition may feel slightly rough at first — strike the lighter a few times to allow the new flint to settle in and ensure smooth operation.
🧼Routine Maintenance
Step 1: Clean the Flame Outlet
After using the lighter for a period of time, use a maintenance tool to gently remove flint dust buildup around the flame outlet (as shown in the circled area of the image). This helps prevent clogging and ensures smooth ignition.
Step 2: Wipe the Surface
Use a soft cloth to gently wipe the exterior of the lighter to keep it clean and maintain its appearance.

For more tips and updates, feel free to explore the following articles:


